Ever clipped into a cam only to realize it’s set in flaring limestone like a loose tooth? Yeah. Me too. On El Cap’s Nose, 800 feet up, I once trusted an ancient stopper that popped out with a sickening ping. My heart dropped faster than my belayer’s hands fumbled for the brake strand. Spoiler: we’re both fine—but that moment taught me this truth harder than granite: your climb protection device isn’t gear. It’s grace.
In this post, you’ll cut through marketing fluff and learn exactly what climb protection devices are, how they actually work (not just what REI says), which ones suit your climbing style, and—most importantly—how to avoid the rookie mistakes that turn “protection” into “propelled toward Earth.” We’ll cover passive vs. active gear, real-world placements gone right (and wrong), and why EIA standards matter more than brand logos. No jargon without explanation. Just actionable, life-preserving insight from someone who’s worn out more nuts than trail mix.
Table of Contents
- Why Climb Protection Matters—More Than You Think
- How to Choose the Right Climb Protection Device for Your Style
- 5 Best Practices for Placing Protection That Actually Holds
- Real-World Case Studies: When Gear Saved Lives (and When It Didn’t)
- FAQs About Climb Protection Devices
Key Takeaways
- A climb protection device includes cams (active) and nuts/wires (passive)—both must be placed correctly to arrest falls.
- Not all rock types accept the same gear: granite loves cams; sandstone demands gentle placement; limestone often needs bolts.
- UIAA and CE certification isn’t optional—it’s your baseline for trustworthiness.
- Experience beats gear: a perfectly placed #4 Camalot won’t save you if your anchor is sketchy.
- Inspect gear regularly: worn slings or bent wires compromise strength silently.
Why Does Climb Protection Matter—More Than You Think?
Climb protection devices aren’t accessories. They’re engineered systems designed to absorb kinetic energy during a fall and transfer load safely to the rock. According to the American Alpine Club’s 2022 Accidents Report, 31% of ground-fall incidents involved inadequate or improperly placed protection. That’s not “bad luck”—it’s preventable.
I’ve seen climbers treat gear like fashion: matching color-coded cams because they “look cool.” Meanwhile, their Black Diamond #3 is cross-loaded in a shallow crack. Yikes. Protection isn’t about aesthetics—it’s physics, geology, and judgment fused into metal and Dyneema.
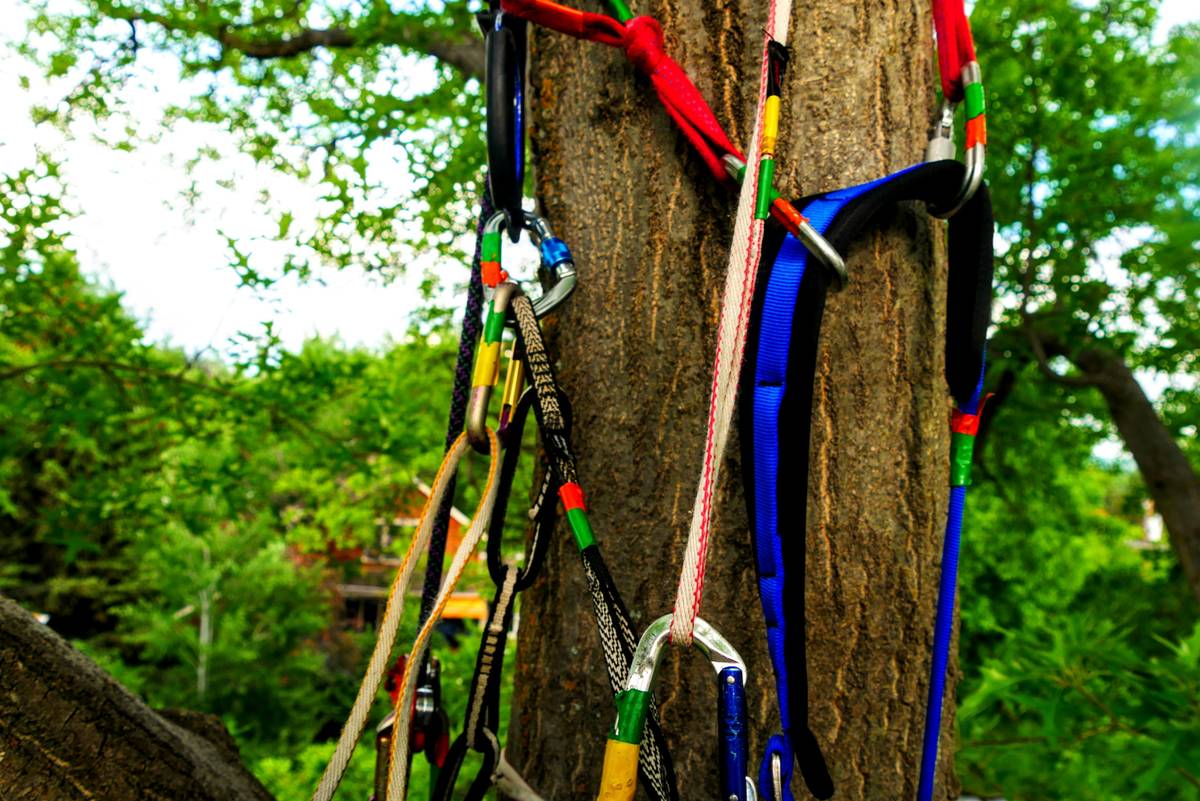
Passive protection (like hexes, stoppers, or tricams) relies on constriction—wedging into narrowing cracks. Active protection (spring-loaded camming devices, or SLCDs) uses opposing lobes that expand under load to grip parallel-sided fissures. Both have strengths, but neither works if you don’t understand the rock beneath your fingers.
How Do You Choose the Right Climb Protection Device for Your Style?
Your discipline dictates your rack. Trad climbers need versatility; sport climbers rely on fixed bolts; alpinists prioritize lightweight redundancy. Don’t buy gear based on Instagram reels—build your kit around where you actually climb.
Optimist You:
“Just get a double set of cams and a nut tool—you’re golden!”
Grumpy You:
“Ugh, fine—but only if coffee’s involved… and you’ve actually practiced placing gear in gym cracks first.”
Step 1: Match Gear to Rock Type
- Granite: Durable, clean cracks—ideal for cams and offset nuts. Cams like the Wild Country Friend or Totem Cams excel here due to flexible stems.
- Sandstone: Soft and fragile. Avoid over-torquing cams; passive nuts are gentler. Use wide placements to distribute force.
- Limestone: Often pocketed or bolted. Passive gear rarely works; focus on quickdraws and bolt-compatible hangers.
Step 2: Prioritize Certification
Look for CE EN 567 and UIAA 123 markings. These standards test devices under simulated falls at 5 kN (kilonewtons) minimum. Brands like Black Diamond, DMM, and Metolius publish full test data—avoid no-name brands from unknown retailers.
Step 3: Consider Weight vs. Redundancy
Alpine routes? A single set of ultralight cams (e.g., BD Ultralight) saves grams. Multi-pitch trad? Double up on sizes #0–#3 for flexibility. Never sacrifice critical sizes for minimal weight savings.
5 Best Practices for Placing Protection That Actually Holds
Even the best climb protection device fails if placed poorly. Here’s how to do it right:
- Test the placement: Give it a firm tug in the direction of expected pull. If it wiggles, it’s worthless.
- Avoid rope drag: Extend placements with slings or quickdraws to reduce leverage on gear.
- Check for rock quality: Tap the wall—hollow sounds mean loose flakes. Never place gear behind detached features.
- Use oppositional placements: In shallow cracks, combine a nut with a cam to create multi-directional security.
- Retire compromised gear: Bent wires, frayed slings, or corroded axles = trash can, not rack.
Terrible Tip Disclaimer:
“Just trust any old piton you find!” Nope. Vintage pitons may be corroded beyond safe limits. The UIAA explicitly advises against using untested legacy hardware. Seriously—don’t be that climber.
Real-World Case Studies: When Gear Saved Lives (and When It Didn’t)
Case 1 – Success: On the Diamond (Longs Peak), a climber fell 30 feet onto a #2 Camalot placed in a dihedral. The cam held—thanks to proper orientation and solid granite. Post-fall inspection showed minor lobe deformation but no failure. Lesson: correct placement in sound rock works.
Case 2 – Failure: In Indian Creek, a climber placed a micro-nut in soft sandstone. During a leader fall, the rock crumbled, pulling the nut free. Result: 45-foot ground fall. Autopsy revealed the nut was rated for granite—not porous sandstone. Lesson: know your medium.
These aren’t hypotheticals. They’re logged in the AAC’s incident database and verified by forensic gear analysis. Your choices echo in consequences.
FAQs About Climb Protection Devices
What’s the difference between passive and active climb protection devices?
Passive devices (nuts, hexes) rely on mechanical wedging in constrictions. Active devices (cams) use spring-loaded lobes that expand under load to grip parallel cracks.
How often should I replace my climb protection?
Inspect before every use. Retire immediately if you see bent axles, worn trigger wires, cracked lobes, or frayed slings. Even unused gear degrades after 10 years due to UV and oxidation (per UIAA guidelines).
Can I use sport climbing quickdraws as protection?
No. Quickdraws connect you to fixed bolts—they don’t function as independent protection. Using them as such risks catastrophic failure.
Are cheaper climb protection devices safe?
Only if certified (CE/UIAA). Counterfeit gear floods online markets—always buy from authorized dealers. A $20 “cam” from an unknown site likely lacks proper metallurgy testing.
Do I need both cams and nuts?
For trad climbing: yes. Cams handle parallel cracks; nuts excel in constrictions and cost less. Many elite climbers carry hybrid racks for maximum adaptability.
Conclusion
A climb protection device is your silent partner on the wall—a fusion of engineering, experience, and respect for the mountain. Choosing the right one isn’t about brand hype; it’s about understanding rock, force vectors, and your own margins for error. Whether you’re placing a humble stopper or racking up ultralight cams, remember: gear doesn’t protect you. Correctly placed, certified, consciously chosen gear does.
So next time you’re clipping in, ask not “Does this look cool?” but “Will this hold me if I fall?” Your future self—dangling safely above the deck—will thank you.
Like a Tamagotchi, your rack needs daily care. Feed it attention, not assumptions.
Wire hums in granite,
Cam springs kiss the dying light—
Trust earned, not bought.