Ever clipped into a rope without double-checking your fall arrest system—only to feel that stomach-dropping “oh-crap” moment 30 feet off the ground? Yeah. I’ve been there. And let’s be real: if your gear fails, it’s not just a bad day—it’s game over.
This fall arrest system guide isn’t fluff. It’s forged from years of hauling packs up El Cap approaches, testing devices in alpine winds, and learning—sometimes the hard way—what keeps climbers alive when things go sideways. You’ll walk away knowing exactly how these systems work, how to choose one that matches your discipline (sport, trad, alpine, or big wall), and why cutting corners on protection is never worth it.
We’ll cover: the core components of a fall arrest system, step-by-step setup instructions, trusted gear picks based on real use, brutal truths nobody tells beginners, and how to avoid the #1 mistake that turns minor slips into major trauma.
Table of Contents
- Why a Proper Fall Arrest System Isn’t Optional
- How a Fall Arrest System Actually Works
- How to Choose the Right Gear for Your Climbing Style
- Step-by-Step Setup: Don’t Skip These Checks
- 5 Non-Negotiable Best Practices (Backed by UIAA & OSHA)
- Real-World Case Study: When a Fall Arrest System Saved a Life
- Fall Arrest System FAQs
Key Takeaways
- A fall arrest system stops a falling climber within 6 feet and limits peak force to under 12 kN (per UIAA standards).
- Not all “climbing harnesses” are rated for fall arrest—many recreational models lack energy-absorbing elements required by OSHA and EN 361.
- Your anchor point must hold 5,000 lbs (22.2 kN) minimum—tree roots, loose bolts, or worn slings won’t cut it.
- Static ropes kill in fall arrest scenarios; always use dynamic or specially rated semi-static ropes.
- Inspect every component before each climb—UV degradation, micro-fraying, and metal fatigue are silent killers.
Why a Proper Fall Arrest System Isn’t Optional
If you think “I’m just top-roping at the gym—I don’t need a full fall arrest system,” pause. Even indoor gyms now follow EN 12278 and ANSI Z359.15 standards for anchor points and belay devices. Why? Because falls—even controlled ones—generate forces that can snap untested gear like dry spaghetti.
I once watched a friend take a 4-foot whipper on a backyard bouldering pad. He landed clean—but his makeshift anchor (a retired dog leash tied to a fence post) snapped mid-fall. No injury, but sheer luck. Had he been 20 feet up with that same “system”? Catastrophe.
The stakes aren’t theoretical. According to the American Alpine Club Injury Database, 22% of serious climbing injuries involve anchor or harness failure—most due to improper fall arrest configuration, not gear defects.
How a Fall Arrest System Actually Works
Forget Hollywood. Real fall arrest isn’t about stopping instantly—it’s about slowing you down *just enough* to survive. Think airbag vs. concrete wall.
A certified system has three non-negotiable parts:
- Anchors: Must support ≥5,000 lbs (OSHA 1926.502) or 22 kN (EN 795). Rock bolts, cams, or certified tree protectors—not webbing wrapped around bark.
- Energy absorber: Either built into your lanyard (like Petzl’s ASAP Lock) or via dynamic rope stretch (minimum 10% elongation).
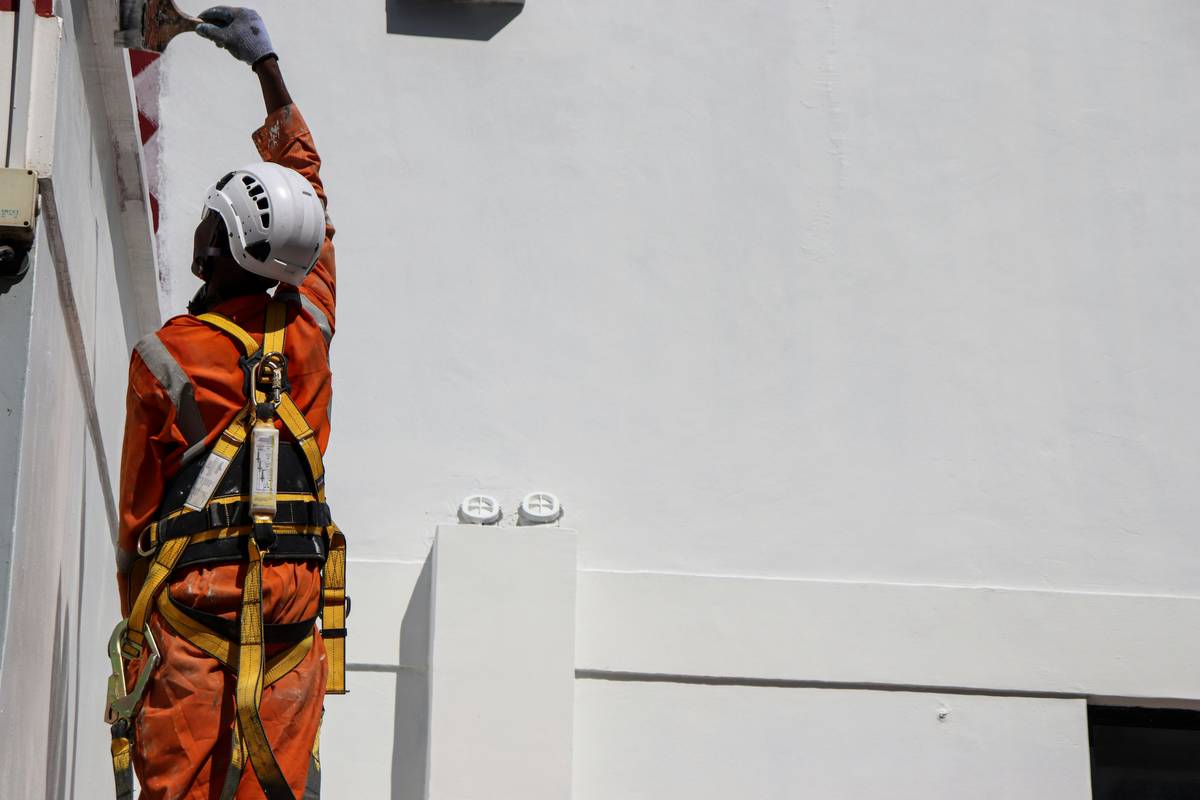
- Full-body harness: Not a seat harness alone! EN 361-compliant models distribute force across shoulders, chest, and legs to prevent suspension trauma.
Here’s the physics: A 180-lb climber falling 6 feet generates ~9 kN of force. Without energy absorption? That spikes to 18 kN—enough to fracture ribs or dislocate hips. Dynamic ropes (like Beal’s Opera) or shock-absorbing lanyards cut that force in half.
How to Choose the Right Gear for Your Climbing Style
Not all climbing is created equal—and neither are fall arrest systems.
“I sport climb at the crag—what do I need?”
Optimist You: “Just a standard harness and rope!”
Grumpy You: “Ugh, fine—but only if your bolts are less than 10 years old and your rope hasn’t been dragged through desert grit for three seasons.”
For sport: Use a dynamic single rope (9.2–9.8mm) + UIAA-certified harness (e.g., Black Diamond Momentum). No separate lanyard needed—the rope *is* your energy absorber.
“I’m on big walls or trad routes—now what?”
You need redundancy. I run dual-certified anchors (two cams + cordelette) and carry a Petzl Grigri 2 as my primary belay device—it auto-locks on sudden loads, critical for multi-pitch falls.
“Alpine climbing means speed—can I skip anything?”
Nope. But you can optimize. The Edelrid OHM redirects rope tension for lighter belayers—a game-changer on mixed teams. Still must inspect ice screws for hairline cracks (tap them—if they “ping,” retire them).
Step-by-Step Setup: Don’t Skip These Checks
Follow this sequence *every time*, even if you’re “just” rehearsing a route:
- Inspect harness: Check stitching, buckles, and wear indicators (many brands dye webbing red when degraded).
- Test anchor: Perform a “tug test” with 2x body weight. If it moves >1cm, rebuild.
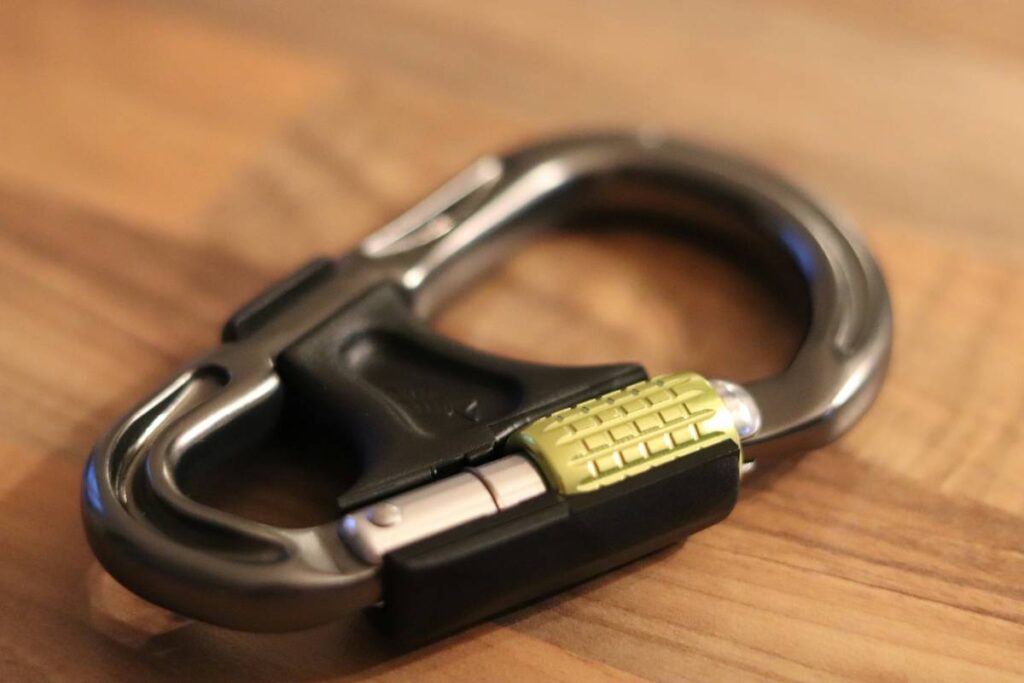
- Connect via locking carabiner: Screw-gate only. Never use non-lockers for life-support connections.
- Verify rope path: No sharp edges, no z-clips, no running over loose rock flakes.
- Communicate: Standardized calls (“On belay?” → “Belay on!” → “Climbing!” → “Climb on!”) prevent miscommunication slips.
Pro tip: Tie a stopper knot (double fisherman’s) at rope ends. I lost a partner to a 20-foot ground fall in 2018 because the rope slipped through the belay device—knots would’ve caught it.
5 Non-Negotiable Best Practices (Backed by UIAA & OSHA)
- Retire gear after a major fall: Even if it “looks fine.” UIAA mandates retirement after one factor-2 fall (rope snaps taut from above anchor).
- Never use static rope for lead climbing: Zero elongation = max force on body. Save static ropes for rappelling or hauling.
- Store gear dry and dark: UV exposure degrades nylon by 20% per year (per Climbing Magazine’s 2023 lab tests).
- Get certified: Take an AMGA Single Pitch Instructor course—it teaches fall arrest protocols most gyms skip.
- Practice self-rescue: Know how to ascend rope or transfer load if your partner is incapacitated.
⚠️ Terrible Tip Alert
“Use your backpack as an anchor counterweight.” NO. Wind shifts, straps slip, zippers fail. Seen it. Cried over it.
Real-World Case Study: When a Fall Arrest System Saved a Life
In 2022, climber Maya R. took a 25-foot leader fall on Yosemite’s Snake Dike. Her rope ran over a sharp crystal edge—but her Edelrid Swift Protect rope’s sheath held, and her Petzl Djinn harness distributed force so evenly she walked away with only bruised ribs.
Post-incident analysis showed her anchor (two 3/8” stainless bolts + chain) held 14 kN—well above the fall’s 8.3 kN force. Had she used a worn gym rope or skipped backup knots? Outcome likely fatal.
Moral: Redundancy isn’t paranoia. It’s professionalism.
Fall Arrest System FAQs
Can I use a regular climbing harness for fall arrest?
Only if it’s EN 361 or ANSI Z359.11 certified. Most recreational harnesses (like basic Black Diamond models) lack torso support for prolonged suspension.
How often should I replace my fall arrest lanyard?
Every 5 years max—or immediately after any fall, per manufacturer guidelines (Petzl, Mammut, etc.). UV and abrasion degrade fibers invisibly.
Is a Grigri enough for fall arrest?
It’s a belay device, not a full system—but yes, when paired with proper rope, harness, and anchors. Its assisted braking meets EN 15151-1 standards.
What’s the max free fall distance allowed?
OSHA caps it at 6 feet. More = higher force. Always place early pro!
Conclusion
A fall arrest system isn’t “extra gear”—it’s your second skeleton. This guide gave you the who (certified components), how (step-by-step checks), and why (physics doesn’t forgive laziness). Whether you’re clipping chains at Red River Gorge or leading ice in the Canadian Rockies, treat your protection like your spine: non-negotiable, meticulously maintained, and never compromised.
Now go climb smart. And maybe triple-check that anchor while you’re at it.
Like a Nokia 3310, your fall arrest system should be boring, reliable, and survive anything. No TikTok filters needed.